5 megabyte images kill kittens. And capybara pups. And your users’ will to live.
Fortunately, there’s an easy image compressor: Squoosh.app. The name alone makes it worth a try, right?! You can compress the heck out of utterly bloated image files in a few seconds.
So, I broke my own rule and recorded a Squoosh how-to:
Transcript
Here’s an ugly-but-readable transcript:
This is a quick demo of using squoosh.app to compress images. On webpages generally have lots of images. They can be over one megabyte and it’s rare that you actually need to have an image—even a photograph—on a web page that’s more than one megabyte.
So you can use a tool like Squoosh to actually—well—squish the image down to a smaller file size.
Why The Squoosh? The Squooshiness, of course.
Squoosh is one of the easier tools to use. That’s why I like to use it for this kind of demonstration. There are tools that will let you do more. There are tools that will let you convert images in bulk. But we’re just going to use Squoosh right now.
This assumes that you’re maybe writing a blog post with, you know, five or six images in it and you just need to get those particular images compressed.
Getting Started
If you go to squoosh.app—that’s the actual web address—you can either copy and paste or drag and drop your image into the Squoosh window.
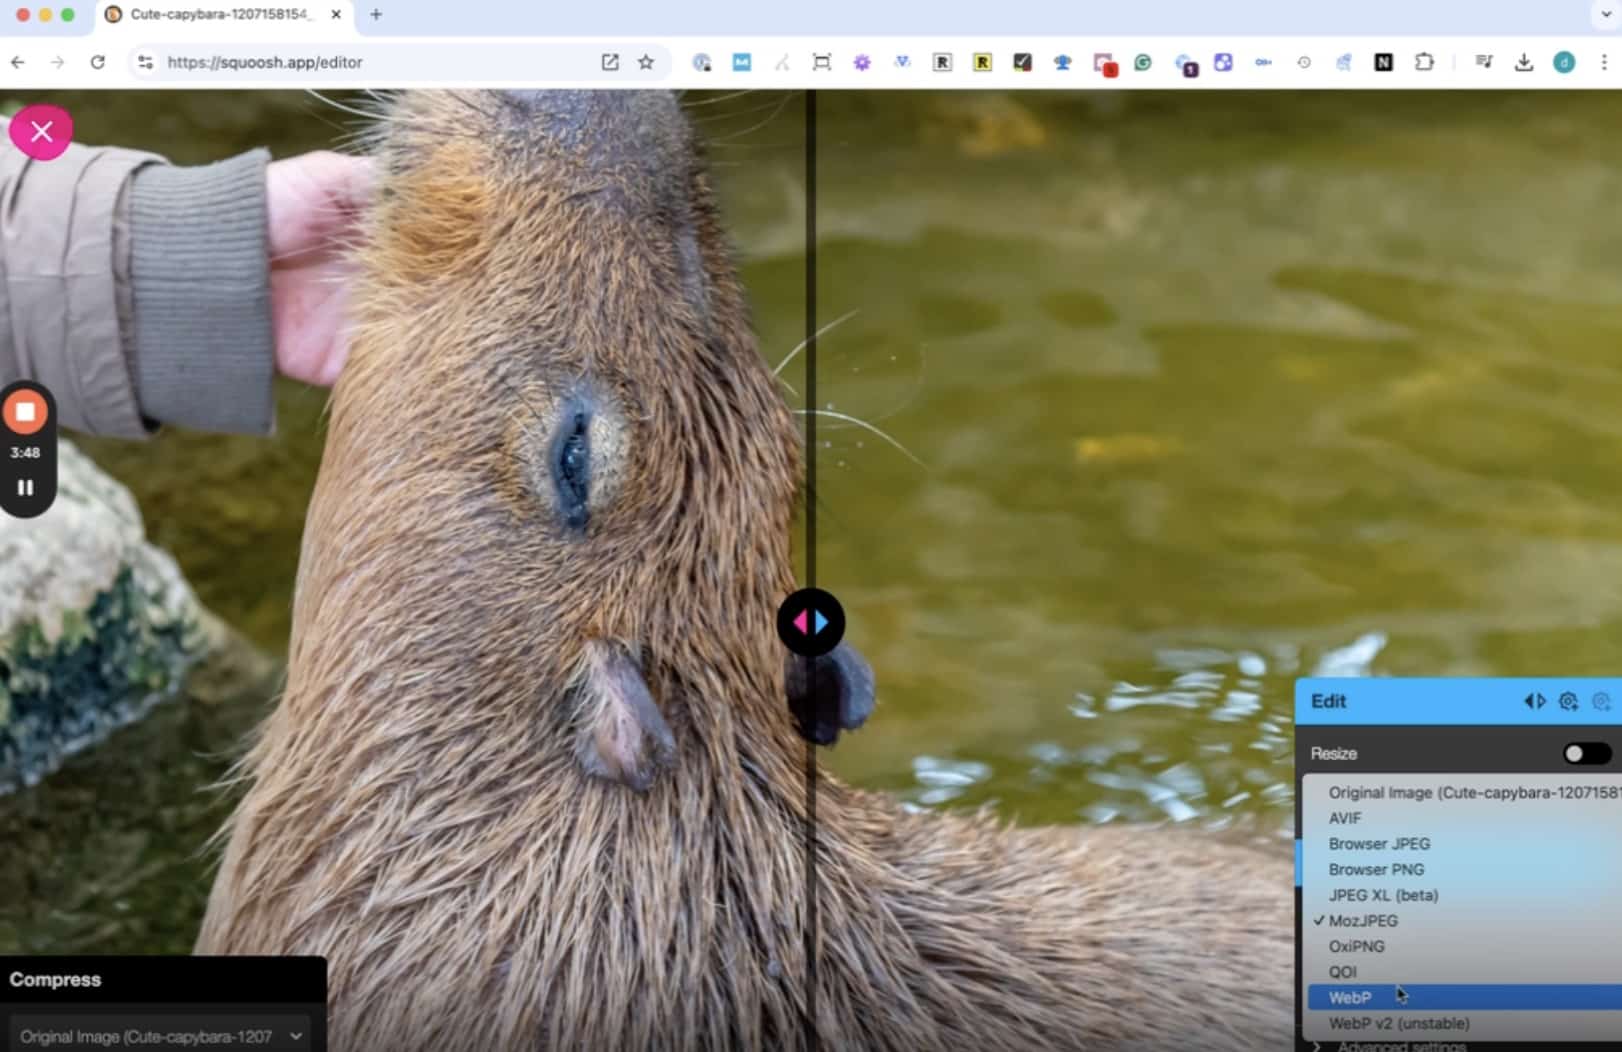
What you immediately see is the original version on the left, which in this case is two megabytes, and then the compressed version on the right.
Choosing Compression Settings
I like to use WebP, and in most cases, WebP is your best choice. It preserves quality. It’s supported by almost all browsers out there, and it works for both transparent images and non-transparent images.
It’s a whole other video I could go into. For now, though, just generally assume WebP is your best option.
Adjusting Quality
You can see here I have a quality slider, so I can reduce the quality, which then reduces the file size. You can see now I’m compressing the image by about 90% at 50% quality.
If I turn it back up to, say, 75% quality, I’m still compressing it 87%. So you do hit diminishing returns. What we want to do is find the point at which we have the best compression at the highest quality.
Using the Comparison Slider
Squoosh also gives you is this cool comparison slider, and I can slide it back and forth to see how much detail I’m losing with this level of compression.
Now, zoomed in 271%, this looks really fuzzy and pixelated, right? But if you zoom back out again, you’ll notice it’s almost impossible to tell the difference.
Finding the Right Balance
For the vast majority of images, you can use 75 or even 80–85% compression. In this case, I’m going to stick with 75% compression, which takes me from two megs to 270 kilobytes. That’s a really good result.
Other Options
Notice, I’m not going to do lossless. You only do lossless compression if you have an image that’s comprised of very few colors, like some kind of line art or something like that.
I’m going to leave the “effort” setting as-is. You can increase it, and sometimes it makes the compression a little more effective. At that point, we’re getting into some pretty fancy stuff—I wouldn’t necessarily worry about it here.
You can resize, too. Again, I’m not really going to talk about that here. I’m assuming that the image you have is already about the right dimensions. If it’s not, you can just hit this and then change your image dimensions.
Downloading the Image
Obviously, if you can make it smaller, that further reduces file size. Then you click download, and it will download the image to your hard drive. You can put it wherever you need to.

